Last Updated: November 6, 2020
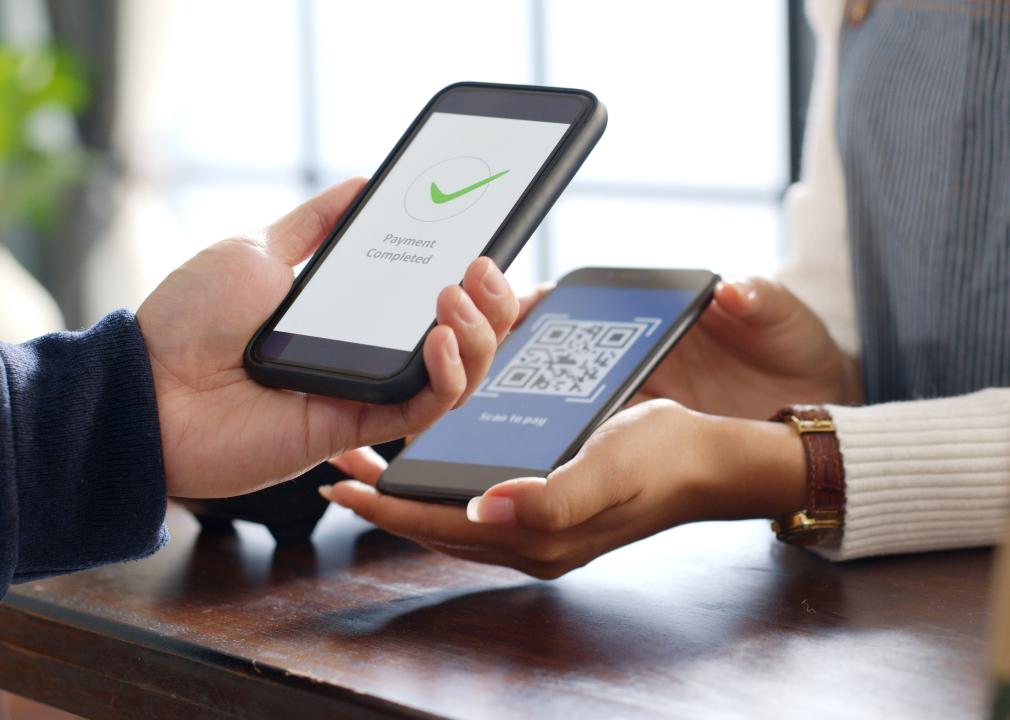
Editor’s Note: In the wake of the pandemic, in order to re-open, restaurants are now going contactless by using QR Codes for menus, grab-and-go offers and payments. If you are looking to create a menu QR Code, sign up for a free trial with Beaconstac’s DIY contactless QR platform > Create contactless menu
Several high-profile restaurants and bars are currently testing iBeacon technology to improve the customer experience. From pushing offers to reducing queues, the possibilities of putting beacons to use in restaurants are endless.
Today, let us create a campaign that rewards regular diners at a restaurant with a specialized dinner coupon. It’s extremely simple to set up this campaign using Beaconstac, our proximity marketing platform.
Campaign Objective:
Let’s set up a campaign that offers customers a 15% discount on their bill amount if their total order value (Online + dine-in) for the month is $500 or more. The discounted dine-in offer should be sent only to customers who’re in the proximity of the restaurant between 7 – 10 PM.
Step 1: Add Beacons to the dashboard and install them in your restaurant
Before we begin, the first thing to do is to purchase a couple of beacons. Long-range beacons will work best for this campaign since we are targeting customers outside the restaurant. Once you have your beacons, add its details to the Beaconstac dashboard. Details of the beacon include UUID, major and minor numbers as shown in the screen below. You can also name the beacons for easy identification. For the purpose of this campaign, I’ve named the beacon as ‘Repeat Customers’ since the beacon is being used to reward them. Once you have added the beacon details, they are ready to be installed.
For this campaign, I suggest placing them near the entrance of the restaurant since our goal is to target patrons passing by the restaurant.
Step 2: Create cards
Next, we’ll create a card that users will see on their device. Cards are basically creatives that show up as a notification on the user’s mobile phone when certain conditions are met. Beaconstac offers several types of cards such as Summary, Photo, Media, etc. (We’ll get into the possibilities that it opens up in a subsequent post.) I’m creating a Summary card titled ‘15% off Bill Amount’ for this campaign.
Step 3: Add Rules
After this, all we have to do is create a rule for the beacon placed near the entrance so that it triggers the offer when a customer is in its proximity for 10 seconds or more.
Step 4: Create Custom Attributes
Next, we need to add a custom attribute that will determine which users will qualify to receive this offer. Custom attributes can be used to filter users based on criteria such as the number of visits, previous purchase history, etc.
Here we are creating two custom attributes called ‘Time of the day’ and ‘Purchase value’. Users who satisfy both these criteria will see the offer on their phone when they are in the proximity of the restaurant.
Step 5: Set Actions
After this, we’ll add the action to be triggered when the rule is true. Here, the action is to trigger the ‘15% OFF Bill Amount’ card we created. Besides this, it is also possible to direct people to a webpage or set up a custom action type.
And we’re all set! A patron passing by the restaurant who meets both the criteria set in the campaign will see the following screen on their device.
Do try this out and let me know your thoughts about this campaign. If there is a specific campaign you would like to read about, I’ll be more than happy to share how you can get it done using Beaconstac.
If you are planning a beacon pilot, take a look at Beaconstac, which includes everything you need to get started. Using Beaconstac you can set up your own campaign, without a developer’s help!
This blog was originally published on March 19th, 2015 at 04:42 pm