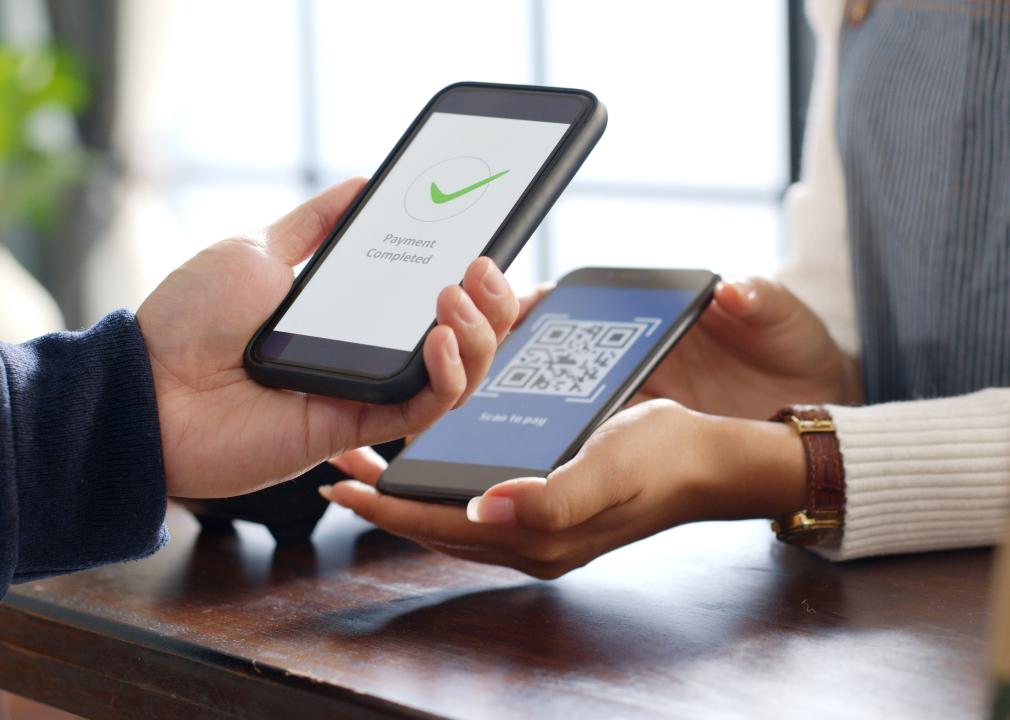
Editor’s Note – Keep your coffee shop safe with contactless solutions and convert your paper menu into a digital menu with QR Codes.
As a coffee shop owner, you not only need to find new customers but also need to find new ways to increase sales to your current customers. Beacons are a great way to cross-sell products at your coffee shop. In this post we will talk about how you can easily create a campaign using Beaconstac to cross-sell an item in your coffee shop with just a few beacons.
To get started with your beacon pilot, you can take a look at Beaconstac, which includes everything you need to get started. Using Beaconstac you can set up your own campaign, without a developer’s help!
Campaign Objective: Let’s set up a campaign that offers your customers a 15% discount on a bagel if they have only purchased a coffee. This offer will be sent only to those customers who haven’t grabbed a bite to eat alongside their drink during breakfast hours (8AM – 11AM).
Step 1: Add Beacons to the dashboard and install them in your coffee shop
Before we begin, the first thing to do is to purchase beacons. Once you have your beacons in place, add their details to the Beaconstac dashboard. Details of the beacon include UUID, major and minor numbers as shown in the screen below. You can also name the beacons for easy identification. For the purpose of this campaign, we are using three beacons to cover the entire area of the coffee shop. Let’s name them Beacon 1, Beacon 2, and Beacon 3. Since we are using all the three beacons to deliver the same offer across the coffee shop, we will tag them together as ‘Coffee Shop Offers’. The Beaconstac ‘Tags’ feature makes it easy to set up a campaign for dozens of beacons in one go. Once you have added the beacon details, they are ready to be installed.
For this campaign, I suggest placing these beacons at 3 different zones around your coffee shop since our goal is to target customers irrespective of where they are seated.
Step 2: Create cards
Next, we’ll create a card that users will see on their devices. Cards are basically creatives that show up as a notification on the user’s mobile phone when certain conditions are met. Beaconstac offers several types of cards such as Summary, Photo, Media, etc. I’m creating a Summary card titled ‘15% off on Bagels’ for this campaign.
Step 3: Add Rules
After this, all we have to do is create a rule for the beacons placed around the cafe so that it triggers the offer when a customer is in its proximity for 15 seconds or more.
Step 4: Create Custom Attributes
Next, we need to add a custom attribute that will determine which users will qualify to receive this offer. Custom attributes can be used to filter users based on criteria such as the number of visits, previous purchase history, etc.
Here we are creating two custom attributes called ‘Time of the day’ and ‘Only Beverage’. This will ensure that only customers who have purchased a beverage alone during breakfast hours will receive this offer.
Step 5: Set Actions
After this, we’ll add the action to be triggered when the rule is true. Here, the action is to trigger the ‘15% off on Bagels’ card we created. Besides this, it is also possible to direct people to a webpage or set up a custom action type.
And we’re all set! A customer who is seated at your coffee shop and meets the criteria set in the campaign will see the following screen on their device.
Do try this out and let me know your thoughts about this campaign. If there a specific campaign you would like to read about, I’ll be more than happy to share how you can get it done using Beaconstac. Meanwhile, if you are planning a beacon pilot, take a look at Beaconstac, which includes everything you need to get started. Using Beaconstac you can set up your own campaign, without a developer’s help!